A quick weave is a popular hair install technique known for its versatility and efficiency in achieving various looks in a fraction of the time compared to traditional sew-in weaves or braids. By applying weft hair extensions onto a protective cap or directly onto the hair, individuals can enjoy the flexibility of changing their hairstyle without committing to a long-term style. However, as convenient as quick weaves may seem, improper installation and maintenance can lead to undesirable outcomes such as hair damage and scalp itch. In this guide, we will explore the benefits of quick weaves, emphasizing the critical importance of correct installation and maintenance practices to avoid common mistakes and promote better hair health and natural hair growth.
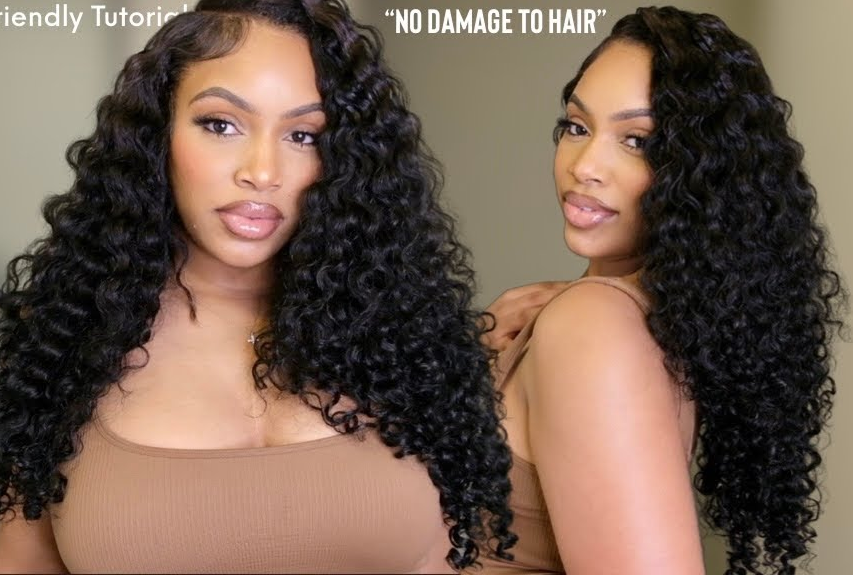
What is a quick weave?
A quick weave is a type of hair installation technique where hair wefts are glued directly to a protective weave cap or other lightweight base material, such as lace or silk, while your natural hair is prepared by braiding or wrapping flat.All the hair wefts must be blow-dried or air-dried to ensure that the bonding glue attaches them to the cap.
Quick weaves are designed to be a faster and more convenient alternative to traditional sew-in weaves, which can be time-consuming and require lower maintenance.
How long does a quick weave last?
The lifespan of a quick weave can vary depending on several factors, including the quality of the hair, the installation technique, and how well it is maintained. On average, a quick weave can last around 4-6 weeks.
Why does your scalp itch under quick weaves?
Experiencing an itchy scalp under a quick weave can be frustrating and uncomfortable. Several factors can contribute to this common issue. Understanding the underlying causes can help you take steps to prevent and alleviate the itching. Here are some of the main reasons why your scalp might itch under a quick weave:
1.Dry scalp
Cause: An itchy scalp can also be a sign of dryness. The hair and scalp underneath the weave may not receive adequate moisture, leading to dryness and itching.
Solution: Keep your scalp moisturized by applying light, non-greasy oils before you start a quick weave installation. Products containing tea tree oil or peppermint oil can also help soothe and moisturize the scalp.
2.Too tight braids or weave installation
Cause: If the braids or the weave are installed too tightly, it can put stress on your scalp and hair follicles, leading to itching and discomfort.
Solution: Ensure your braids and weave are installed with just enough tension to secure the style but not so tight that they cause discomfort. Communicate with your stylist about your comfort level during installation.
3.Allergic reactions to the glue or underlying base material used
Cause: Sometimes, the materials used in the weave, such as the bonding glue,weft hair extensions, or even the cap, can cause allergic reactions. This can result in itching, redness, and irritation.
Solution: If you suspect an allergic reaction, switch to hypoallergenic products and materials. Test a small section of the product on your skin before full application to check for any adverse reactions.
4.Buildup of Products and Dirt
Cause: One of the most common reasons for an itchy scalp under a quick weave is the buildup of hair products, sweat, and dirt. When these substances accumulate on your scalp, they can clog pores and irritate the skin.
Solution: Regularly clean your scalp and hair underneath the weave. Use a dry shampoo or a scalp cleanser designed for use with weaves and extensions. Ensure you rinse thoroughly to remove all residues.
5.Improper Drying After Washing
Cause: Not drying your hair thoroughly after washing can lead to damp conditions under the weave, which can promote fungal growth and scalp irritation.
Solution:Make sure to dry your hair completely after washing. Use a hooded dryer or a blow dryer with a diffuser to fully dry your hair with the appropriate heat setting (50-120) to ensure all moisture is removed from the scalp and braids.
6.Extended Wear Without Maintenance
Cause: Leaving a quick weave in for too long without proper maintenance can lead to an accumulation of dirt and oils, contributing to scalp itchiness.
Solution: Follow the recommended duration for wearing a quick weave, typically 4 to 8 weeks. Perform regular maintenance and cleaning during this period to keep your scalp healthy.
7. Scalp Infection or Inflammation
Cause: An itchy scalp can sometimes indicate an underlying scalp infection or inflammation, such as folliculitis or dermatitis. These conditions can be exacerbated by the presence of a weave.
Solution: If you experience persistent itching along with other symptoms like redness, swelling, or pus, consult a dermatologist or healthcare professional for appropriate treatment.
Why Quick Weaves Damage Your Hair: 12 Common Mistakes to Avoid
It is no doubt that quick weaves are an excellent option for black women looking to switch up their look quickly, but they could cause hair damage if they are not installed properly or if you do not use or care for your weft hair extensions properly.
It is essential to avoid common mistakes as following that can lead to hair damage.
Installation mistakes
1.Not Preparing Your Hair Properly
Mistake: Installing a quick weave on dirty or wet hair.
Consequence: This can lead to scalp infections, mold, and weakened hair strands.
Solution: Always start with clean, dry hair. Shampoo, condition, and thoroughly dry your hair before beginning the installation.
2.Skipping the Protective Barrier
Mistake: Applying glue directly onto your natural hair.
Consequence: The glue can cause hair breakage and make removal difficult, leading to hair loss.
Solution: Use a wig cap or stocking cap as a protective barrier between your hair and the glue. This helps protect your natural hair from the adhesive.
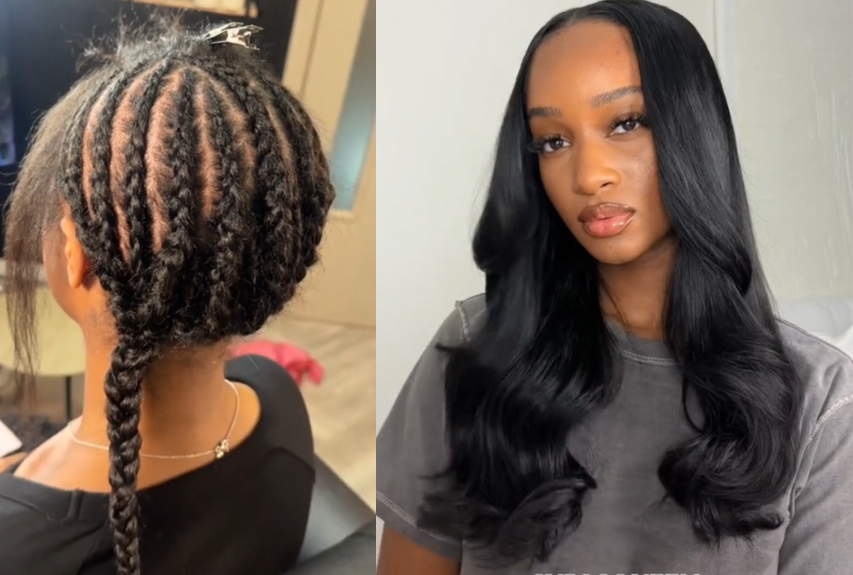
3.Tight Braids or using a wrong cap size
Mistake: Braiding your hair too tightly or using a too tight cap before installing the quick weave.
Consequence: Tight braids can cause tension alopecia, leading to hair loss and scalp soreness.An ill-fitting cap can cause discomfort and affect the final look of your weave.
Solution: Braid your hair securely but not too tightly,and choose a cap that fits snugly but comfortably on your head.Ensure your scalp feels comfortable, and there's no excessive pulling on the hair roots.
4.Improper Application of Bonding Glue or Use of Inferior Glue
Mistake:Improper application such as applying too much glue or placing it directly on your natural hair,or use of inferior glue, can lead to hair loss and scalp irritation.
Consequence: This can cause the glue to seep through the cap and onto your scalp, leading to irritation and potential hair loss.
Solution: Use a moderate amount of quality glue and apply it only to the weft of the extensions, not on your natural hair. Consider using protective barriers such as a wig cap,stocking cap, or wrapping paper to prevent the glue from touching your scalp.
5.Use too many or too long weft hair extensions that add stress to your scalp
Mistake:Hair extensions, especially long and thick ones, add extra weight to your natural hair.
Consequence:Over time,this additional weight can pull on your scalp, leading to tension and stress on the hair follicles,and It can also lead to headaches and discomfort or other problems.
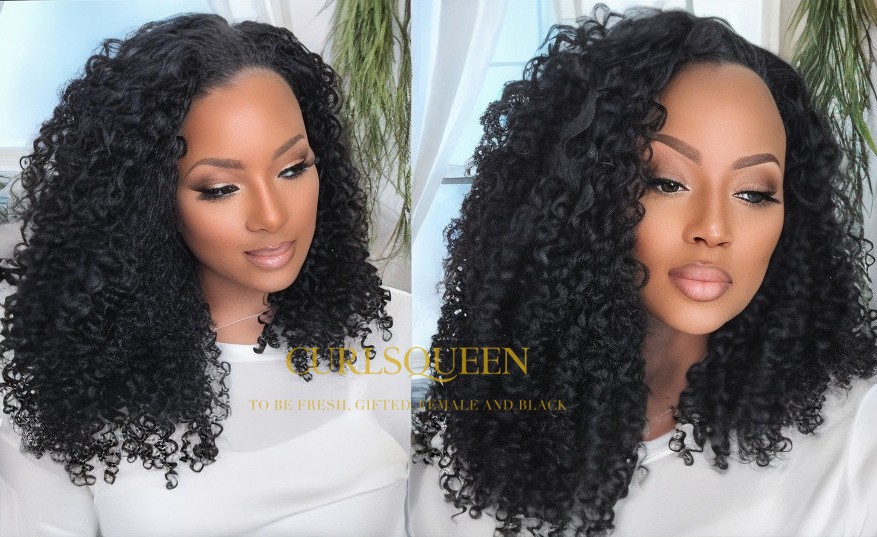
Solution:Opt for weft hair extensions of appropriate length and thickness to lessen the overall weight and reduce stress on your scalp.(2-3 bundles of CURLSQUEEN weft hair extensions is recommended for a full glam look.)
Use & care mistakes
1. Ignoring Maintenance
Mistake: Neglecting to care for your quick weave and natural hair.
Consequence: This can lead to product buildup, scalp irritation, and tangled hair.
Solution: Regularly cleanse and moisturize your scalp and hair. Use gentle products and avoid heavy oils or greases that can cause buildup.
2. Prolonged Wear
Mistake: Leaving the quick weave in for too long.
Consequence: Extended wear can lead to matting, tangling, and difficulty in removing the weave, causing hair damage.
Solution: Follow the recommended duration for wearing a quick weave, typically 4 to 6 weeks. Schedule regular maintenance appointments if needed.
3. Improper Washing
Mistake: Washing the weave too vigorously or not washing it at all.
Consequence: Vigorous washing can cause tangling, while not washing it can lead to dirt and oil buildup.
Solution: Wash your weave gently using a sulfate-free shampoo. Use a downward motion to avoid tangling and ensure you rinse thoroughly to remove all product residues.
4. Improper Removal
Mistake: Removing the quick weave hastily or without proper tools.
Consequence: This can cause hair breakage and scalp irritation.
Solution: Use an oil-based remover or conditioner to loosen the glue before gently removing the weave. Take your time to avoid pulling or tugging on your natural hair.
5. Using Heavy Products without fully washing out the buildup
Mistake: Applying heavy oils, greases, or pomades to your weave.
Consequence: This can lead to product buildup, making the weave look greasy and causing tangling.
Solution: Use lightweight products specifically designed for extensions and weaves. Opt for products that add moisture and shine without causing buildup.
6. Overusing Heat Styling Tools
Mistake: Frequently using heat styling tools on your weave.
Consequence: Excessive heat can damage the weave, causing it to become dry, brittle, and prone to breakage.
Solution: Minimize the use of heat styling tools. If you must use them, apply a heat protectant spray beforehand and use the lowest heat setting possible.
7. Ignoring Night Protection
Mistake: Not protecting your weave while you sleep.
Consequence: This can cause friction, leading to frizz, tangling, and breakage.
Solution: Wrap your weave in a silk or satin scarf or bonnet before going to bed. You can also use a silk or satin pillowcase to reduce friction and keep your weave smooth.
How to remove a Quick Weave without damaging your natural hair?
Removing a quick weave properly is crucial to prevent damage to your natural hair. Here’s a step-by-step guide on how to do it safely and effectively:
- Materials Needed:
- Oil-based remover or conditioner
- Wide-tooth comb
- Rat-tail comb
- Scissors
- Hair clips
- Shampoo and conditioner
- Deep conditioning treatment
Step-by-Step Removal Process
1. Prepare Your Hair
Gather Supplies: Ensure you have all the necessary materials ready before you start the removal process.
Section Your Hair: Use hair clips to divide your hair into manageable sections. This makes it easier to work through your hair systematically.
2. Loosen the Bonding Glue
Apply Oil-Based Remover: Apply an oil-based remover or a generous amount of conditioner to the tracks of the weave. Focus on the areas where the bonding glue was applied.
Massage In:Gently massage the remover or conditioner into the tracks and wait for a while for the glue to melt. This helps break down the glue, making it easier to remove the hair wefts.
3. Remove the hair wefts
Use a Rat-Tail Comb: Insert the tail of the rat-tail comb under the weft and gently lift it away from the scalp. If the weft resists, apply more remover or conditioner and wait a few minutes before trying again.
Cut if Necessary: If you encounter any stubborn sections, use scissors to carefully cut the weft away from the bonding glue. Be cautious not to cut your natural hair.
How can you thoroughly wash your natural hair and revive your hair weft bundles after removing them?
1. Detangle Your Natural Hair and hair weft bundles
Apply More Conditioner: Once all the wefts are removed, apply more conditioner to your natural hair and weft hair extensions to help with detangling.
Use a Wide-Tooth Comb: Gently detangle your hair with a wide-tooth comb, starting from the ends and working your way up to the roots. Be patient and take your time to avoid breakage.
2. Wash Your Hair
Shampoo: Wash your hair thoroughly with a mild, sulfate-free shampoo to remove any remaining residue from the bonding glue and conditioner.
Condition: Follow up with a moisturizing conditioner to restore hydration to your hair.
3. Deep Condition
Treatment: Apply a deep conditioning treatment to your hair to nourish and repair any damage that may have occurred. Leave it on for 15-30mins before rinsing it out.
Rinse Thoroughly: Make sure to rinse out all the product to avoid any buildup.
4. Dry and Style
Towel Dry: Gently towel dry your hair to remove excess water.
Air Dry or Blow Dry: Allow your hair to air dry, or use a blow dryer on a low heat setting to avoid further damage.
Style: Style your hair as desired. Consider giving your hair a break from extensions for a while to allow it to recover and strengthen.
- Tips for a Safe Removal
- Be Gentle: Always handle your hair gently to avoid breakage and scalp irritation.
- Take Your Time: Don’t rush the removal process. Taking your time ensures you remove the hair wefts without causing damage.
- Regular Breaks: Give your hair regular breaks from weaves and extensions to promote healthy growth and recovery.
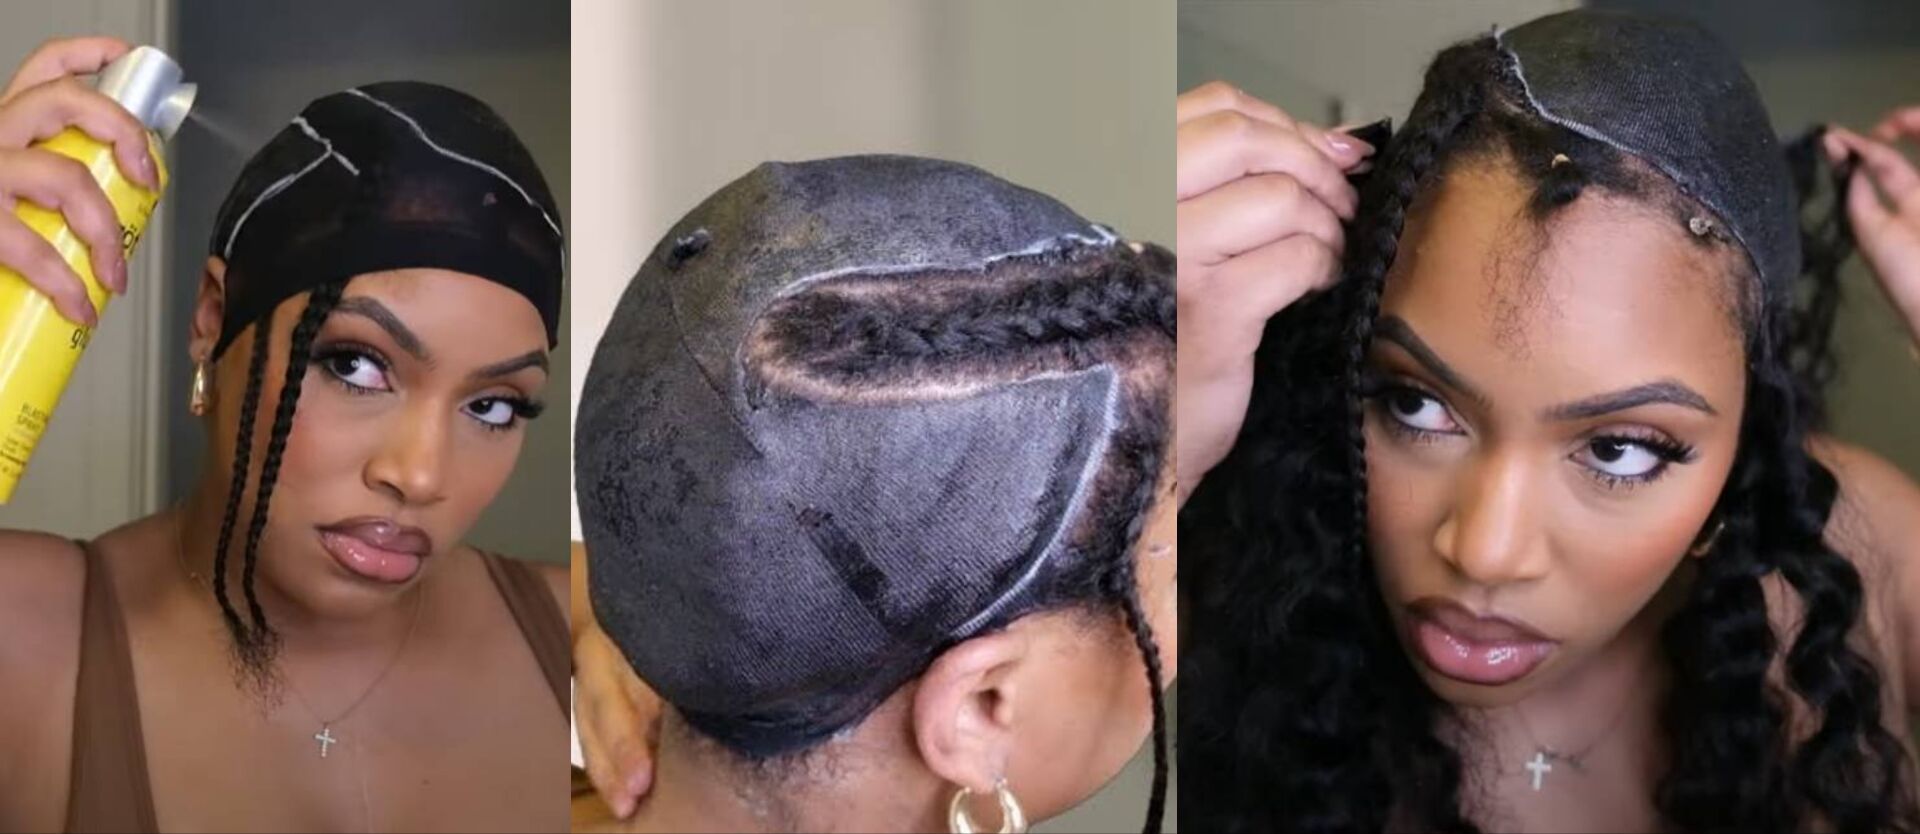
How To Install A Quick weave properly?
Above all,we known that quick weaves can be a great way to change your hairstyle, but it's essential to avoid common mistakes that can lead to hair damage. By preparing your hair properly, using a protective barrier, ensuring comfortable braiding, applying the right amount of quality glue, maintaining your weave,etc., you can enjoy the benefits of a quick weave without compromising the health of your natural hair.
At the last,here is a video showing how to install A quick weave properly, make sure you’re always looking your best!
*If you are unsure about which texture to choose for blending, feel free to email our CSR ([email protected]) with photos of your natural hair. We will provide you with our recommendations:)